It's been bitterly cold for more than a week now. How cold? Well, let's just say it got warm enough to snow the other day. It's the kind of weather that makes you want to stay indoors, curled up in a sunny room with a good book. It just so happens I've been curled up a lot lately with The Home Creamery, by Kathy Farrell-Kingsley, founder of the Great Cakes Bakery in Westport Connecticut. On my day off, I decided to save the field trip to Westport for a warmer day and stay in for a day of pajama cooking instead.

This is when I spend the whole day in my pajamas (Oh come on, we've all done it right?) doing some slow cooking - the kind that takes all day, but is largely unattended. So that leaves plenty of time for reading, brushing up on my rendition of Highway to Hell for Rockband, or watching the Presidential inauguration - all without getting out of my pajamas
Since I had been dying to try out some of the recipes from The Home Creamery, I thought it would be the perfect way to spend the day. I settled on making Homemade Ricotta cheese and Homemade Butter, since neither of these require any special ingredients such as rennet or citric acid. The book provides two methods for each, so I thought I'd try both.
Well, the day got off to a rocky start. The first recipe I made was ricotta cheese using cultured buttermilk as the curdling agent. I didn't have enough milk to make a full recipe, so I figured I would just make half of the first recipe. It was simple, really: 1 quart of buttermilk to 1 gallon of milk, divided in half. But here's where it gets a little tricky: I was less than halfway through my first cup of coffee of the morning, and still sleepwalking a bit. I thought: 1 pint buttermilk to 2 quarts milk, then filled my quart measuring cup with milk and dumped it in the pot, followed by one pint of buttermilk. Catch that? I completely forgot the second quart of milk. Not realizing my mistake until much later (in one of those a-ha moments just before falling asleep) I followed through with the whole process. This entailed heating the mixture to 180 degrees F, letting the curds form for about 30 minutes, then draining it for 1-2 hours, and seasoning it. What I ended up with was actually a nice crumbly cheese with a texture not unlike crumbled feta, but with a flavor more like queso fresco, with a hint of sourness from the extra buttermilk.
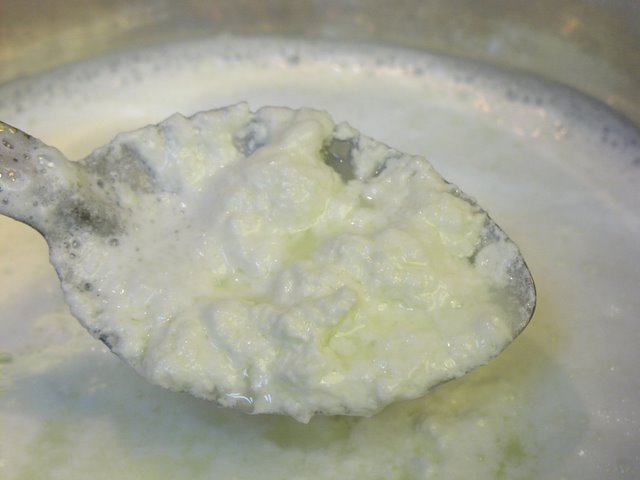
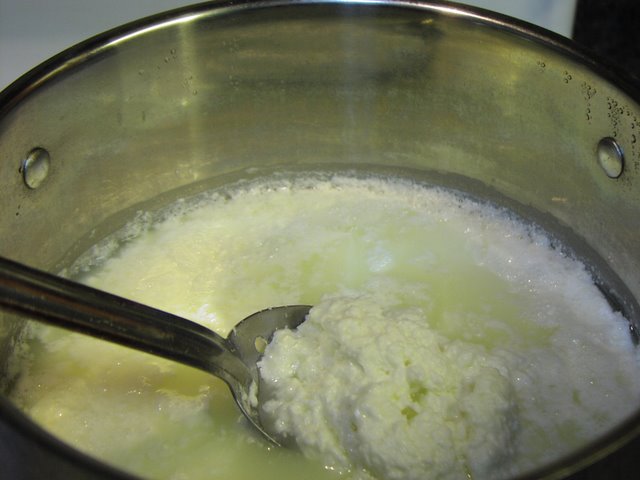
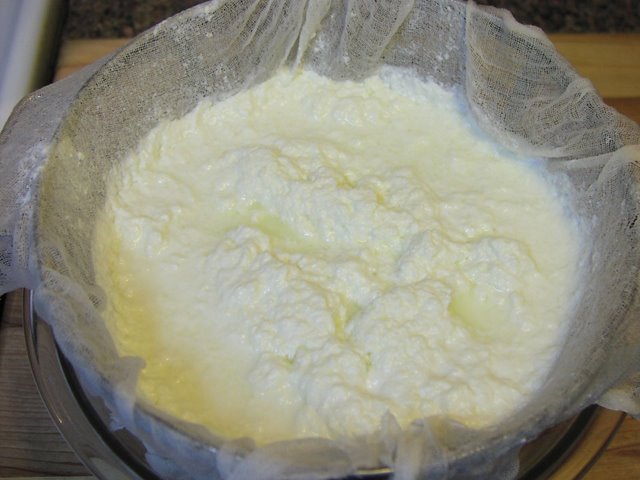
The second batch of ricotta, however, went off without a hitch and turned out beautifully. This recipe used vinegar as the curdling agent. I heated the milk, removed it from the heat, then added the correct amount of vinegar and salt. According to the book this mixture should sit for 2 hours to develop it's curd, but I found it started to curdle almost immediately after adding the vinegar. Nevertheless, I followed Farrell-Kingsley's directions and let the pot sit covered at room temperature for 2 hours while I played a little Rock Band and watched some inaugural events. After the two hours were up, I transferred the whole thing to a cheesecloth lined colander and waited another 2 hours for it to drain (Highway to Hell, on medium baby!!).
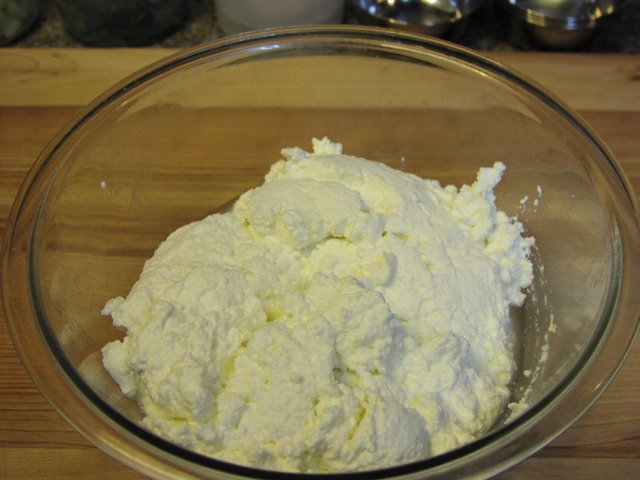
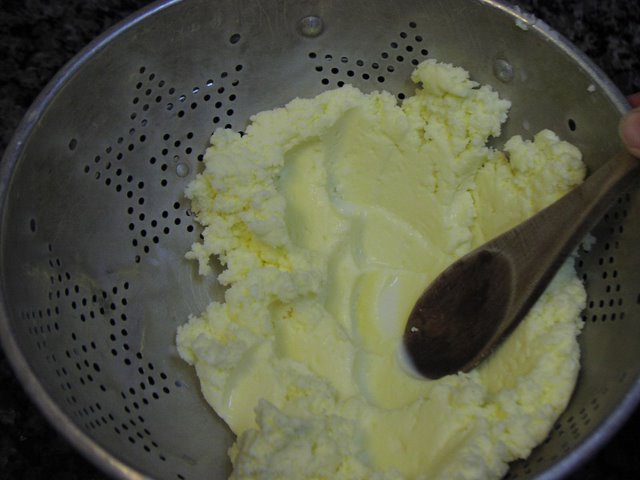
- Homemade ricotta
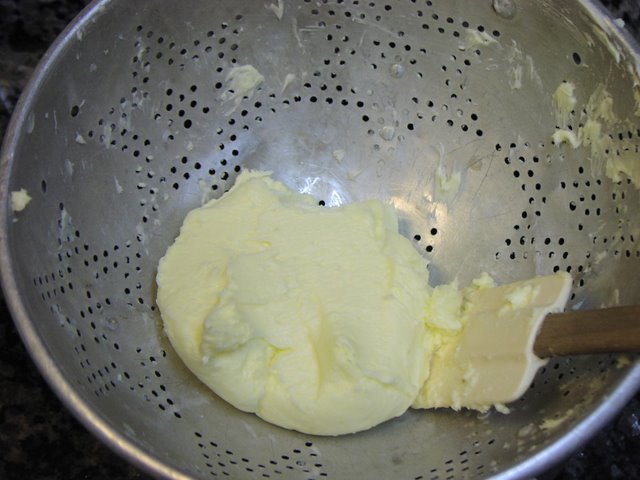
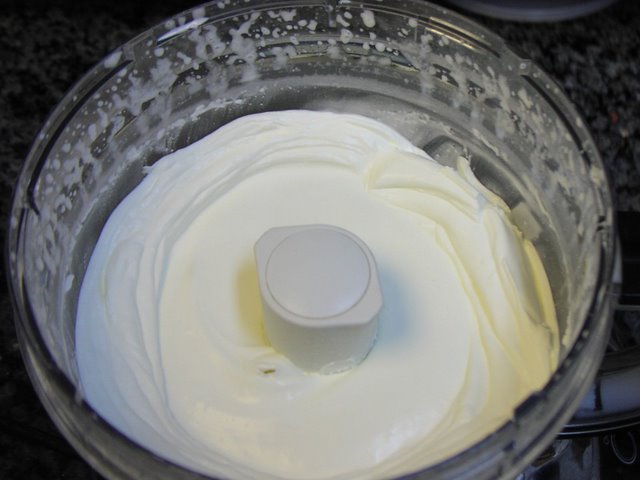
- Homemade Butter
1 pint buttermilk ricotta and 1 pint buttermilk whey
1 quart vinegar ricotta and 3 quarts!! whey
1 cup food processor churned butter and 1 cup buttermilk
1/2 cup hand shaken butter and 1/2 cup buttermilk
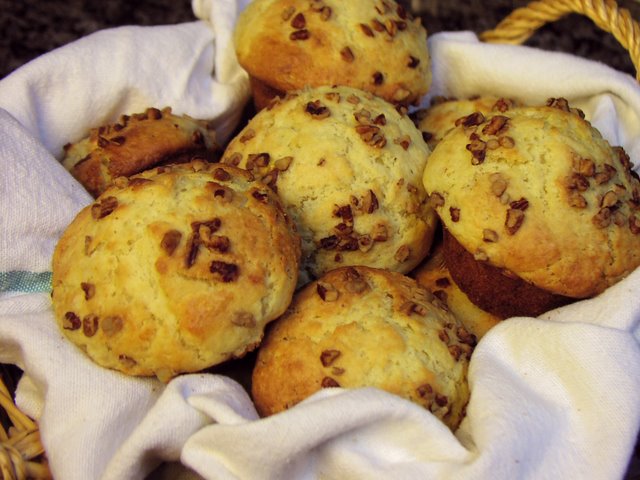
Thank goodness Farrell-Kingsley's book also contains recipes for using all that goodness. I actually got a chance to use the buttermilk to make some delicious Buttermilk Banana Muffins.
| Related Pages: | ||
| |  |
| Homemade Ricotta | Homemade Butter | Buttermilk Banana Muffins |